I am reaching out to the wisdom of the crowd. This is my problem. I need to scan this whole piece of tissue. I have over 100 slides to scan. All pieces are in the same place within the slide and roughly have same size. Has anyone done something similar? Thanks. 
This should be exactly the sort of problem the openflexure microscope is good for  I wonder if I could break down the problem slightly:
- How can you position the slide on the microscope so the sample is in the right place (that probably means defining what “the same place within the slide” means)
- What field of view do you use/how big is the sample
- I guess the samples are not a regular shape?
@JohemianKnapsody has done some preliminary thinking about how to scan samples that aren’t square, but so far I think has only tested it in simulation. @j.stirling made a version of the “slide riser” for the v7 microscope that should position the sample more repeatably, and perhaps you could customise that to put the slide in the right place?
At this point I’m really wishing we had a nice “home” feature - but provided you don’t switch the microscope off in between times, you should be able to repeatably return to roughly the same place just by moving to the same set of coordinates. So if you remember where you started on the last slide, you ought to be able to scan it, swap in the next slide, and return to the same place to find the next sample.
Thanks so much for your insight Richard!. The problem is not much with homing the samples as it is for focusing them. I made this little adapter to place the samples at the right spot each time.

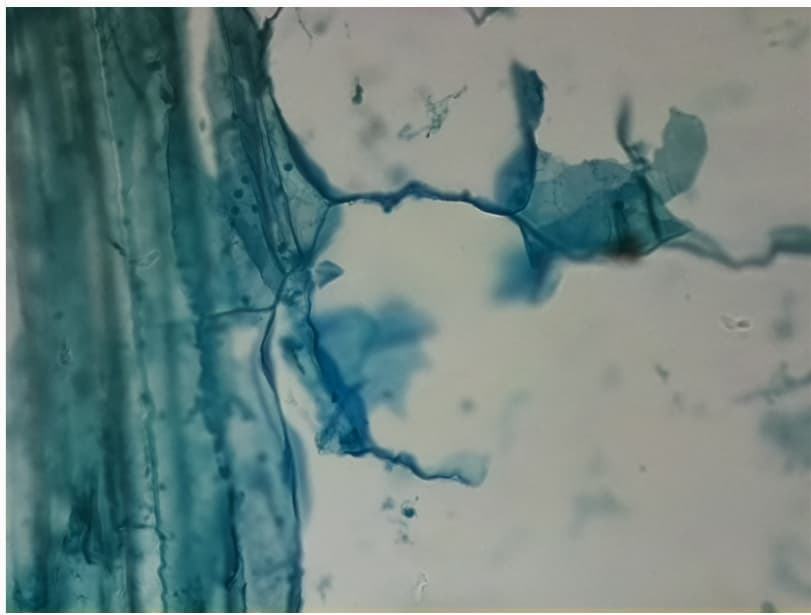
Lets say my samples fit in a 6x5 grid like in this picture.

I start by finding the right focus and then move the stage to the start point and zero the coordinates. Since the samples is not square it will try to focus on a blank space and move on. If the second space is also blank it will focus again. When it reaches the tissue it will be so far off that it cannot focus anymore. I could start my scan on 3rd square from the start but then I will be missing part of the tissue from the 3rd and 4th row.
I see the problem! Hopefully @JohemianKnapsody will get around this with his improved scan algorithm - I’ll leave him to chime in with details once he’s ready. The trick will be to notice when the focus goes crazy, and recover in a sensible way.
Exactly. Thanks
Just for the record, I think Joe’s approach so far (following a suggestion from @j.stirling) is to do a snake scan as you have above, but instead of always going to the end of the row, it will turn around as soon as it realises it’s left the sample. The plan is that we’ll use the autofocus results to figure out when the sample has gone, which I hope should work farily well, and we can remember the last Z position that was nicely focused, so it doesn’t “wander off”. This ought to work pretty well for samples like the one you show, if you start in a corner and work up. It won’t work for really crazy shapes, but I think it’s the most sensible place to start - the trade-off is that anything that works for really crazy shapes results in a way more complicated series of moves…
If there any merit in checking the image before autofocussing? I am just thinking that if you are in focus, you then move 1/2 a FOV in x or y, and you can now see nothing. It is very unlikley that the problem is focus.
I picked on focus because it’s probably quite a good way of detecting an empty sample in a content-independent way; if your sharpness vs Z curve suddenly goes from nicely peaked to totally flat, it’s probably a good way to detect that the sample’s vanished. If you are lucky enough to have a sample that just goes white when you’ve passed the edge, you’re right that there may well be an easier metric that detects when there is nothing there.
Fair point I suppose there are two parts to be solved independently.
- How to decide if anything is there
- What to do if nothing is there
If we solve #2 then you there can be many ways to do #1 some which may work best for different samples.
@dgrosen this is the exact problem I’ve been thinking about recently. As @j.stirling says, there’s a few options to identify if you’re looking at the sample or the background, and ideally after identifying the background we’ll have an algorithm to avoid capturing empty images. Currently I’ve written something that prunes each column when it detects background, but this doesn’t guarantee capturing the entire sample if it has an unusual shape.
Tomorrow I’ll have a look at improving the scan pattern and ways to detect background, and update here
Thanks so much! Never thought to draw so much attention. I think this is a fundamental problem in all whole slide scanners. Some commercial scanner use a low power 1x-2x low resolution scan to identify the tissue within the slide and others use background detection. It will be very cool if the system can detect nothing is there and turn around. Another option is that if nothing is there, remember the last focal point and move to the next field. That way it will not be so far off when it encounters tissue again.
Hi all
One approach we’ve discussed is measuring the sharpness over a range of heights at each site, as a completely empty slide won’t change much as its focused and defocused. Unfortunately even in background fields of view, there’s enough data or dirt to allow the system to focus on a peak.


However, the size of this peak is small compared to the peak sharpness of a sample:

If your samples are fairly similar, a solution could be to measure the typical sharpness peak prominence within a sample at the start, then add a step during scans to reject fields of view with a sharpness prominence below that value. Alternatively, we can eliminate the problem of moving in z on the background all together, and use the sample to produce a histogram of colours on the sample, then assume that a significant shift in this histogram indicates the background.
@r.w.bowman is there a reason to prioritise looking at one over the other? I suppose the real test is that they don’t reject a field of view that is 95% background and 5% sample, as this position still needs marking as containing sample
Thanks for the working on this and your prompt feedback. The explanations is too technical for me  . I lost you after peak prominence
  . In any case, I agree with Richard… I would not use this measure to “reject a field” and not scan it. Having an uneven grid will cause big problems when trying to stitch the images together. Also, sometimes you may encounter a hole within the tissue section. For example in the case of a cyst. Probably, If background peak sharpness is encountered then use the last Z focus value used when tissue was detected. This will prevent that the z focus is way far off when encountering tissue again. I found that a Z value of 500 is perfect to find the perfect focus on tissue sections and cytology specimens.
Calibration is a crucial initial step for any laboratory equipment. So running an initial background calibration test makes sense. Dust and debris could be no problem but the background is usually 99% of that field. This is a preanalytical problem that is beyond the scope of the device. Cleaning the slides and cover slipping can correct that greatly.
I totally understand that this explanation is too simplistic on my part and may not be plausible using a programmatic approach. Hope my insight helps
Daniel
@JohemianKnapsody if that is a real sample and off sample example, then the shift of z-focus by 3000 steps is a telltale.
This also underlies what @dgrosen says, there is a problem when it focuses on background, or fails to focus on a blank field, as it walks too far in z to find focus when it scans back onto the sample.
It should be possible to set a threshold for the shift of z-focus from one field to the next. That might be very robust to sample type.
@dgrosen Apologies, I’m probably not using the word prominence correctly; I just mean how clear the peak is, its height and how far it is from other peaks. Think we can only get an idea of this from calibrating for each sample.
I agree that capturing background areas to make sure the tiled image is a rectangle makes sense, and that it’d be nice saving the z position of the last sample image to always return to if focusing fails.
@WilliamW hard coding a maximum change in z between FOVs would work here, but I’m not sure how many samples will have a physical change in heights. Think rejecting focuses that are 3000 steps away from the previous would catch a few background areas, but hopefully these would get caught by whatever approach we come up with to detect all other backgrounds as well (reading that back, I’m not sure if it makes sense?)
Thanks Joe. Is it necessary to detect the background on each sample? I think that probably detecting background on the 1st slide of the batch will be enough.
I think that’s a very good suggestion, and one we discussed - I guess there are two challenges here:
- How can we scan a sample, using a rectangular grid, when autofocus will fail at some positions in the grid?
- How can we efficiently scan a sample that isn’t rectangular?
As you say, the first problem can be solved to some extent by remembering previous “best focus” positions, and being resistant to jumps/errors. Joe has already thought about this a little, and we might see if it’s possible to put together some demo code, depending on available time. The second challenge is in some ways more fun to solve, and might be very useful for particular samples - but as you point out it probably then means we need a more sophisticated tiling solution than the ImageJ stitching plugin.
The approach I’m working on would only need an initial calibration of the first slide. As it’s based on colour detection, it’d work best on samples that have either a consistent background or sample colour (ideally both). What I’m working on currently works on my samples, do you have any example images of your samples I can test on?
Yes. What kind of pictures?
I think I had raised the same issue before also…and had suggested skipping “n” number of contiguous steps having a predefined pixel values.
This would preserve the autofocus range as well as reduce the scan time