Hi everyone,
I have finished setting up the (manual v7) microscope, the LED works, and the webcam sensor picks up something, but the image isn’t in focus yet. I assume that now I need to calibrate all the degrees of freedom (such as the position of the light source on the dovetail, the vertical position of the camera via the “hidden” bolt inside the microscope, and the XYZ actuators). Right now my microscope image looks like the one attached (I have just inserted a piece of transparency slide with a thin sheet of tape on top (is that OK for calibration or what should I use?). How should I calibrate the microscope now (I haven’t done any microscopy before so sorry for the stupid question)?
As this is an inverted microscope with the optics on the bottom your tape needs to go on the bottom of the slide pointing towards the optics module.
You will not get much to see from a piece of tape. Some permanent marker scribbled on a blank slide is often effective. Make the scribbles quite dense, the field of view of the Manual microscope is only about 1mm.
You need the illumination about 5mm from the stage, so that it is focused on the sample. You shoukd be able to see when the illuminated spot is small. You will then need to adjust the horizontal position of the illumination to centre it on the camera. This is a bit fiddly and will need a few goes loosening the illumination dovetail screws, adjusting, re-tightening.
As @ffesti says, the microscope is designed to have the sample on the underside of the slide, close to the lens. For the C270 lens spacer the working distance is about 1mm, so you want the top if the lens about 1mm below the stage level. For the Manual setup with C270 lens spscer it is also possible to view through a microscope slide of about 1mm thickness, with the sample on top. In that case the lens will be nearly touching the underside of the slide.
There is no actual calibration to do, there are no motors to calibrate, and we have not got software to calibrate the colour of USB cameras.
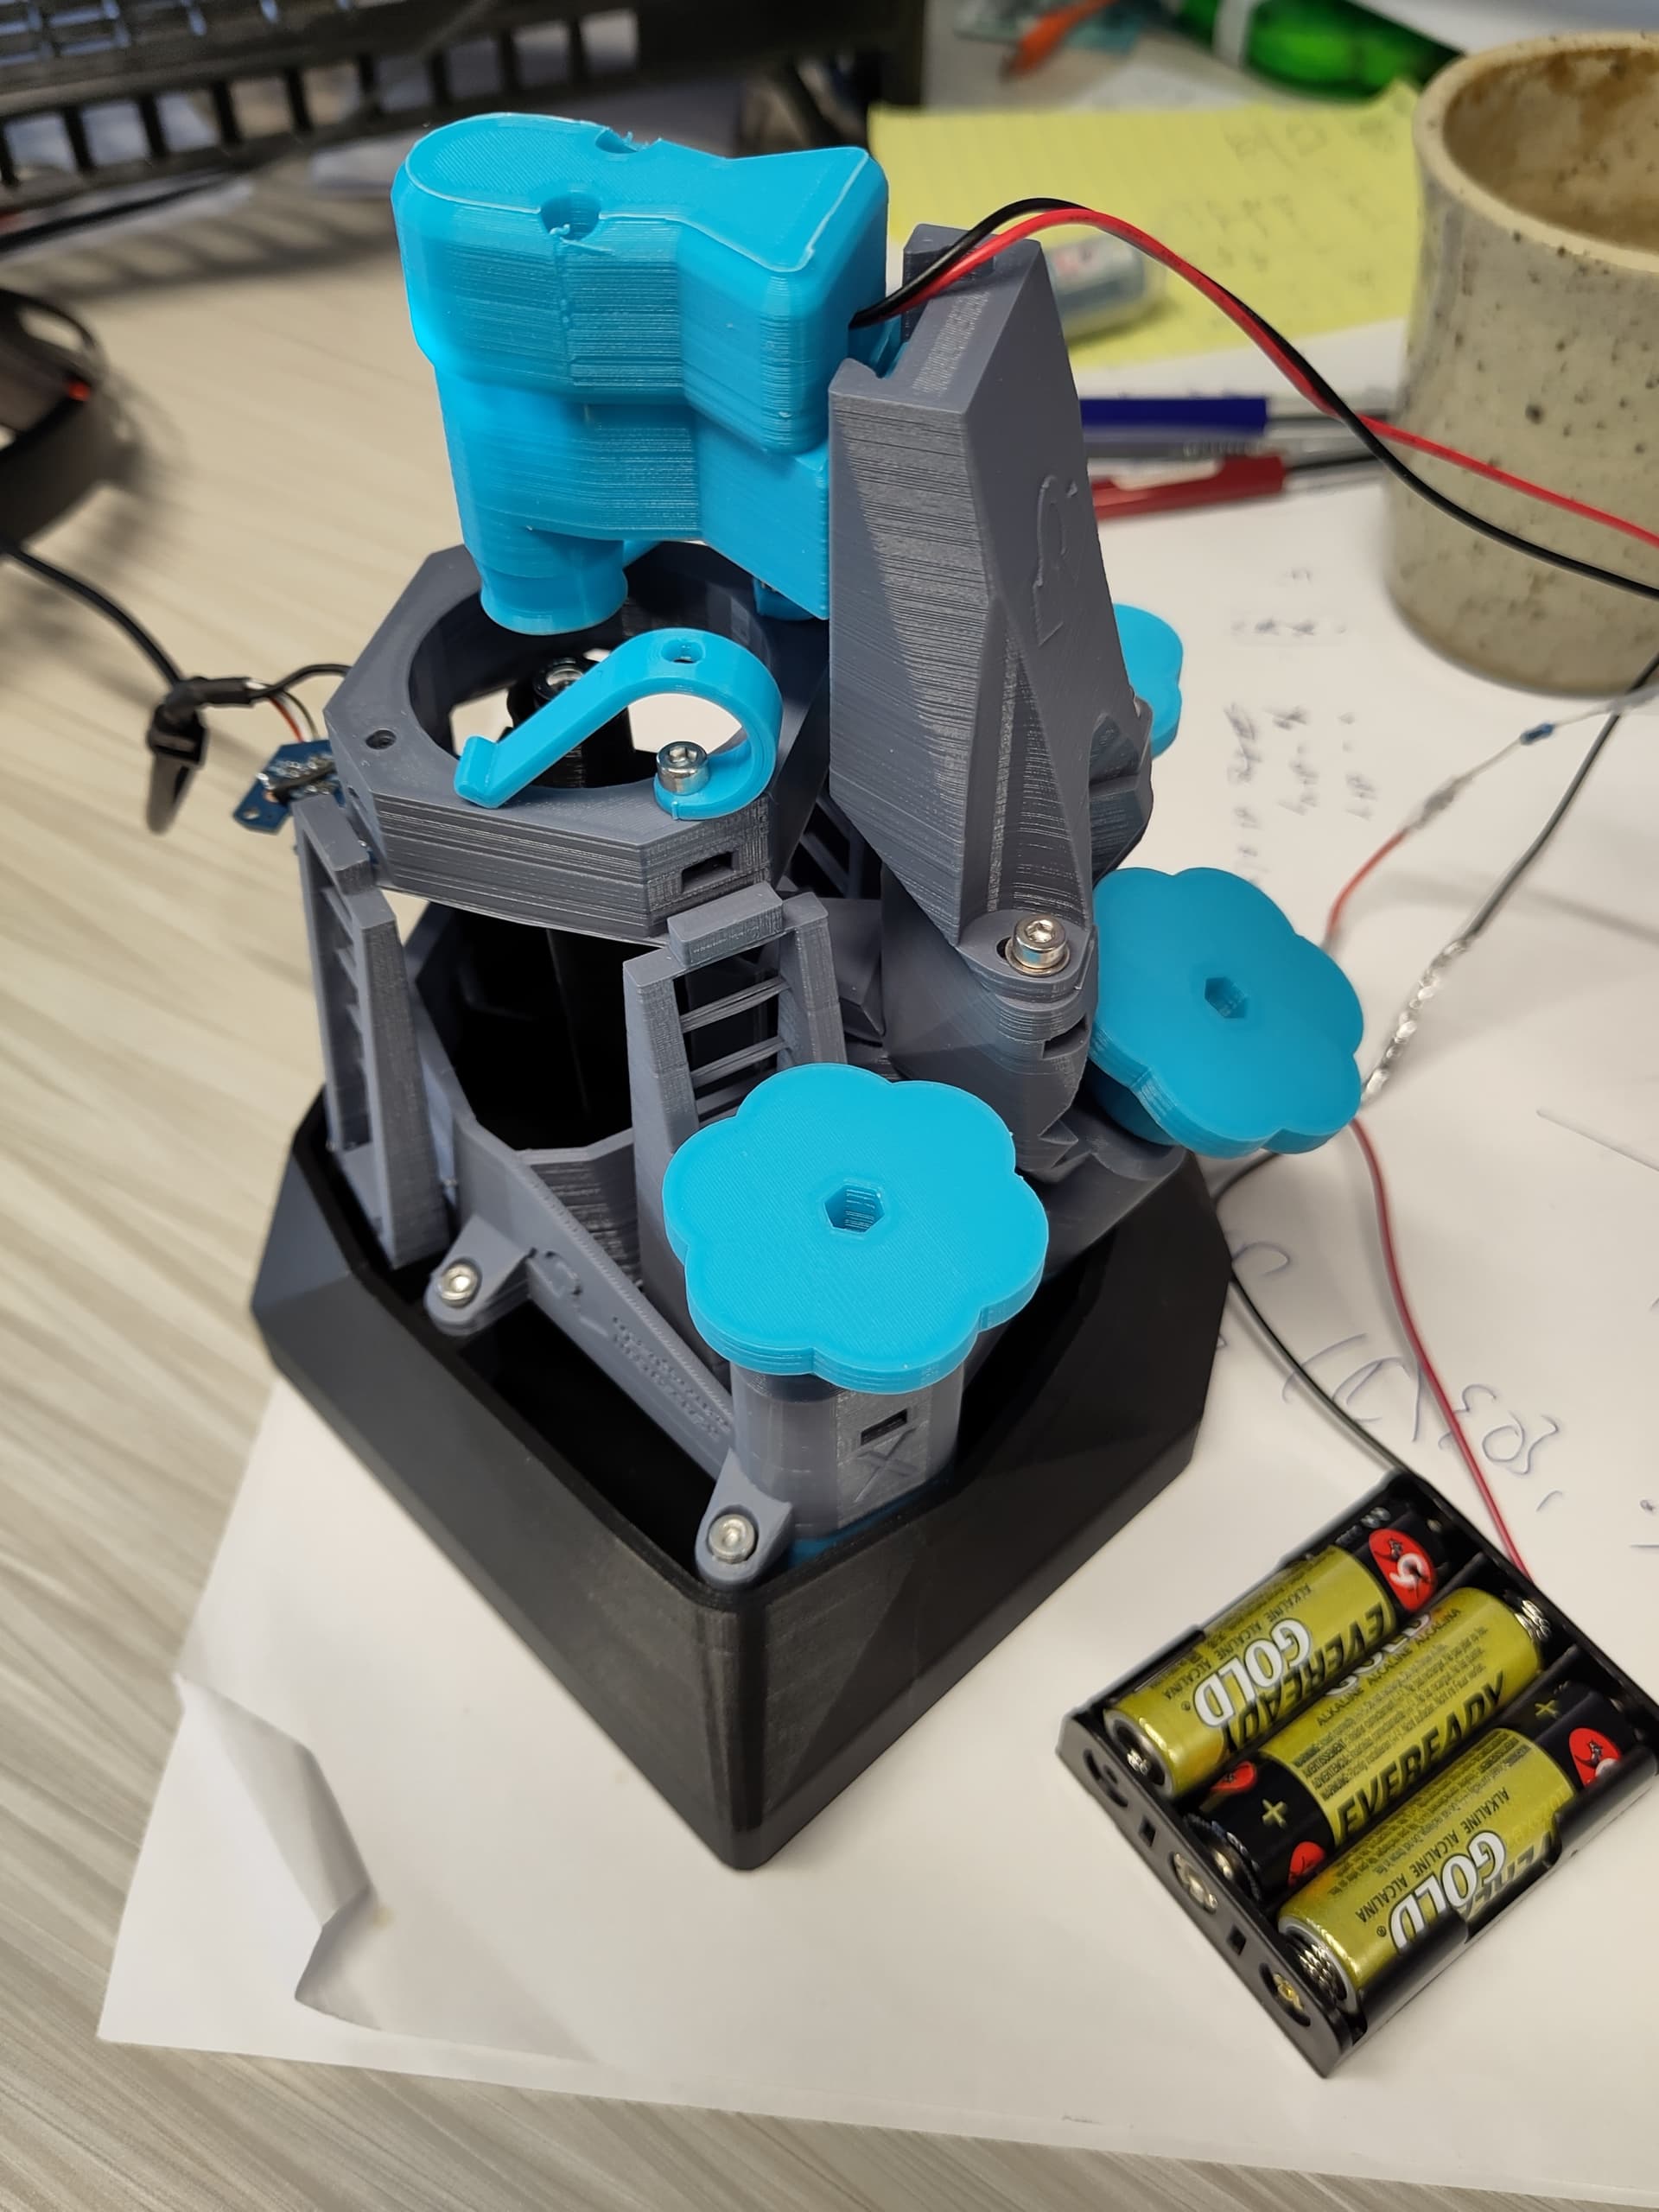
A photo of your microscope would be cool to see.
Thanks, guys, that worked perfectly. I am so happy! Attaching a few figures of the microscope (please ignore the messy cable management, I had to thread the cable several times because I messed up the soldering initially and forgot to re-thread through the cable channel before final assembly :D)
and my first image (a piece of tape on a piece of transparent plastic (I don’t have any slides yet, so I assume the blurriness is due to the plastic not being perfectly flat), you can see the pigments of the printer).
And here’s a hair! (I realise how much I sound like a child now, but I am genuinely excited about this :D)